|
1. To focus on shutter speed, I set the camera to "Shutter Speed" on the dial oppose to "Aperture Priority". On top of the camera, I switched it to "S" on the dial. When selecting shutter speed priority, the main focus is to capture movement of what you are taking a picture of. 2. When the shutter speed chosen, the movement in front of the lens is either blurry or very clear. The lower the shutter speed is, the movement isn't captured as clear vs how a higher shutter speed would. The larger the shutter speed is, more clarity of the moving object(s) are captured. In the first photo I took, the girl in the front center is where the camera is focusing on. The people behind here are in a moving position, jumping upwards. Resulting in the shutter speed being low, the motion of them jumping makes the photo not as clear. If it was set to a higher shutter speed that would differ. You can see that between the photos with a shutter speed of 1/3 and 1/1000. With this shutter speed it clearly captured the people in the background as if they were floating in mid-air. The higher shutter speed I set the camera to, captures them clearly. 3. When taking a photograph its really your decision to figure out what sort of outcome you want the photo to have. In a sport for example, If someone wants to capture a photo for the yearbook of someone on the track team running, they would choose a much lower shutter speed to capture the movement. To capture a much closer photo, say of a kite up in the sky, a higher shutter speed would be best. Shutter Speed Notes
0 Comments
 This is what my picture looks like after the first step to creating a cyanotype. The first step i took was placing my negative on top of a cardboard piece and yellow paper. I then placed glass over the negative and took it outside. While outside, I let it sit in the sun for 5 minutes. 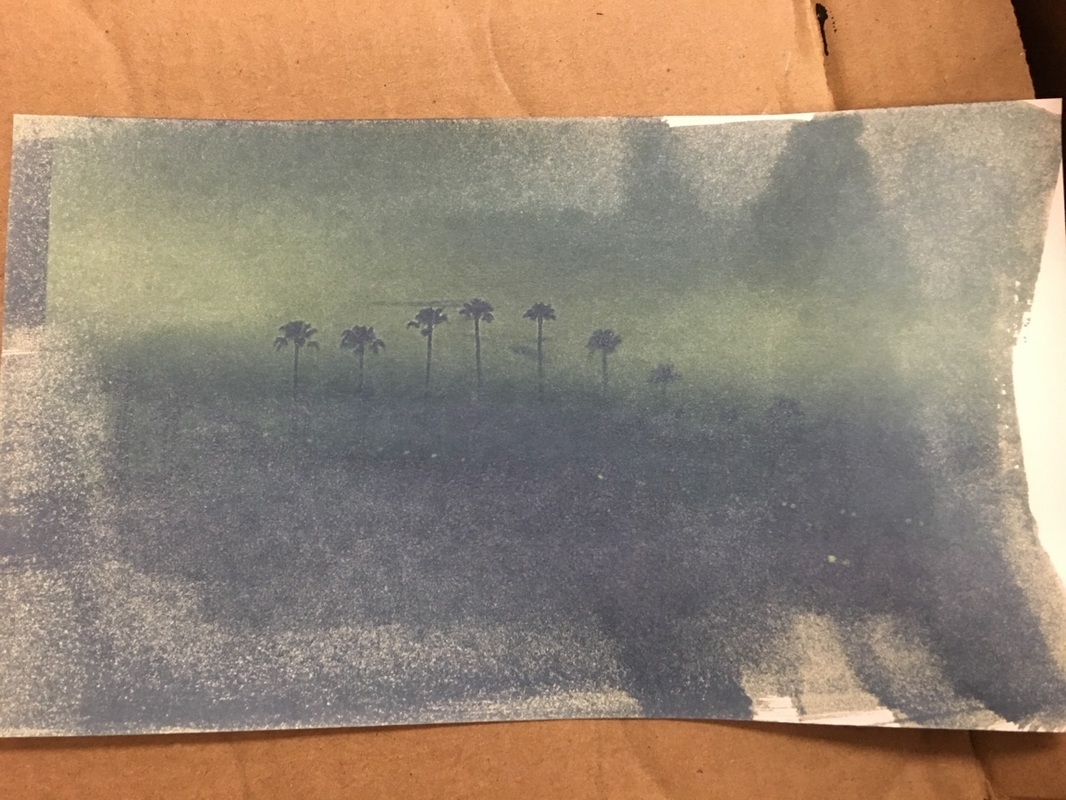 After 5 minutes, I brought it back inside and this is the result of the photo. It turned very dark with shades of dark blue and green. Next i took my photo and placed it in a bucket of water to rinse until stains were clear. After the water I placed it in a bucket of 3% of Hydrogen peroxide for enhanced blues to come out. 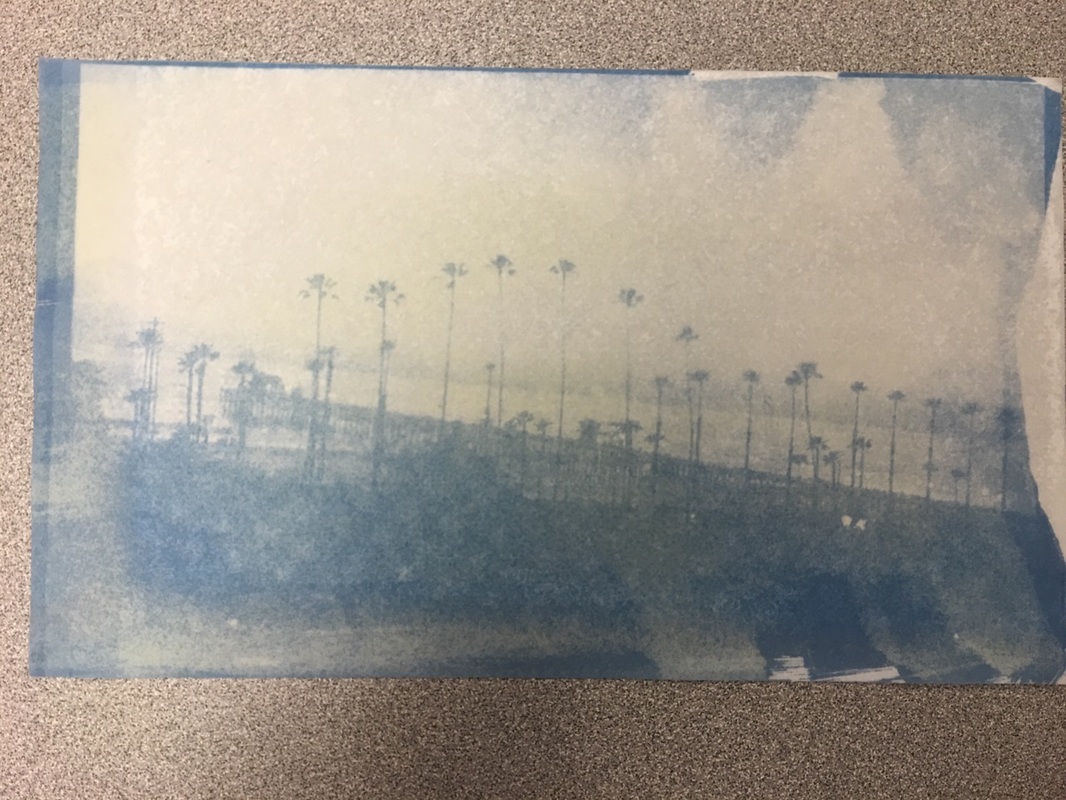 The final step to creating a cyanotype is to let it air dry. Sun drying it is not recommended because it can ruin the photo. This is a photo of the Oceanside Pier. I took this off of the top of the parking structure. I really like how the tress came out and the pier.
Daguerreotype: The inventor of this photographic process is Louis Daguerre. The process of this invention is to start off with a silver-plated copper plate. Then the plate is to be polished and buffed until it looks like a mirror. The plate needs to be sensitized to light with certain chemicals such as iodine and bromine in a specialized light proof box. A camera obscura was used to take photos and a leveling stand helped it level out. Overall a daguerreotype is the early photographic process of taking pictures of anything you wanted.  This is a Daguerrotype photograph that is taken of two men that seems to be goofing off. Cyanotype: The inventor of this process is John Herschel and it was first discovered in 1842. The chemicals used to create this is ammonium ferric citrate added to water in one container and Potassium ferricyanide added to water in another. After that you mix an equal amount of both into another container. 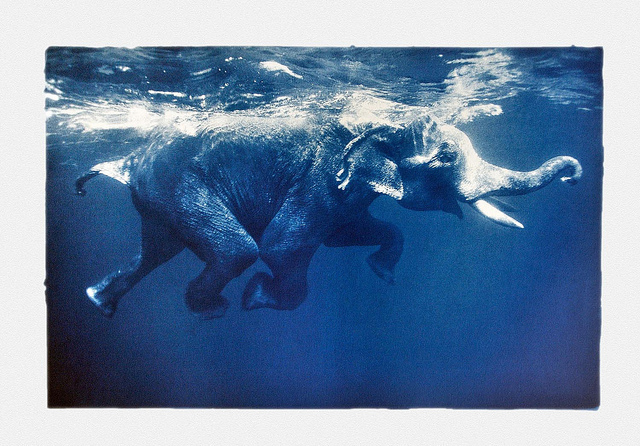 This is a cyanotype photograph taken of an elephant swimming. 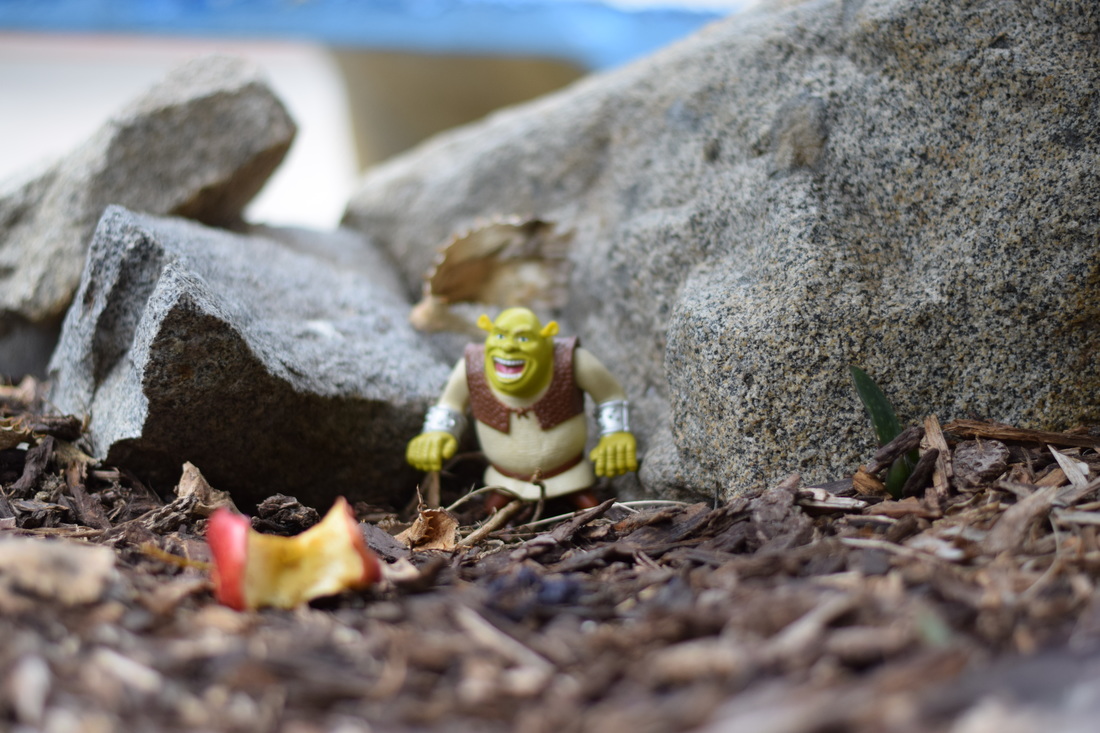 Shrek's Swamp ISO 400 Aperture f/1.8 Shutter Speed 1/4000 Once upon a time there lived an ogre named Shrek. Shrek didn't like anyone, especially anyone who came near his swamp. For a long time he has lived on his own and liked it that way very much. Shrek got to do anything and everything he wanted because no one was ever around. This ogre was very content with his lifestyle. The next day Shrek was out and about doing his daily tasks such as scoping out his swamp to make sure no one was around, eating breakfast and chilling in the mud pool. While Shrek was chilling in the mud pool, he noticed an orange thing up in the tree. Shrek got out and walked over to the tree and noticed it was a fairy! He was beyond upset because the fairy totally disregarded what his "NO TRESPASSING" sign said. Shrek shouted, stomped and shook the tree to make her leave. The fairy would not budge. The fairy told him that she had been watching over him for awhile and noticed how lonely he was. 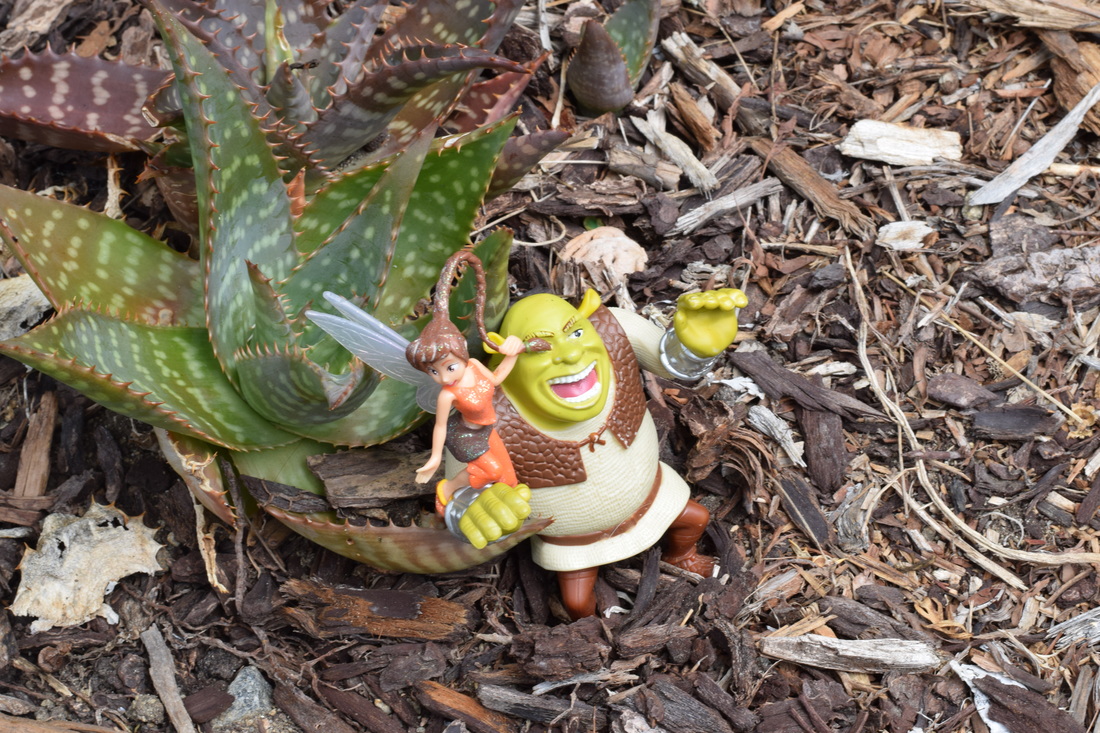 Best of both worlds ISO 400 Aperture f/1.8 Shutter Speed 1/100 Shrek ended up liking Fawns company around his swamp. Shrek told her she was always welcome to visit or even welcome to live with him. Fawn liked the idea of moving in. Her duties were to clean the swamp house while and Shrek's was to hunt for food. These two became best friends that protected each other. 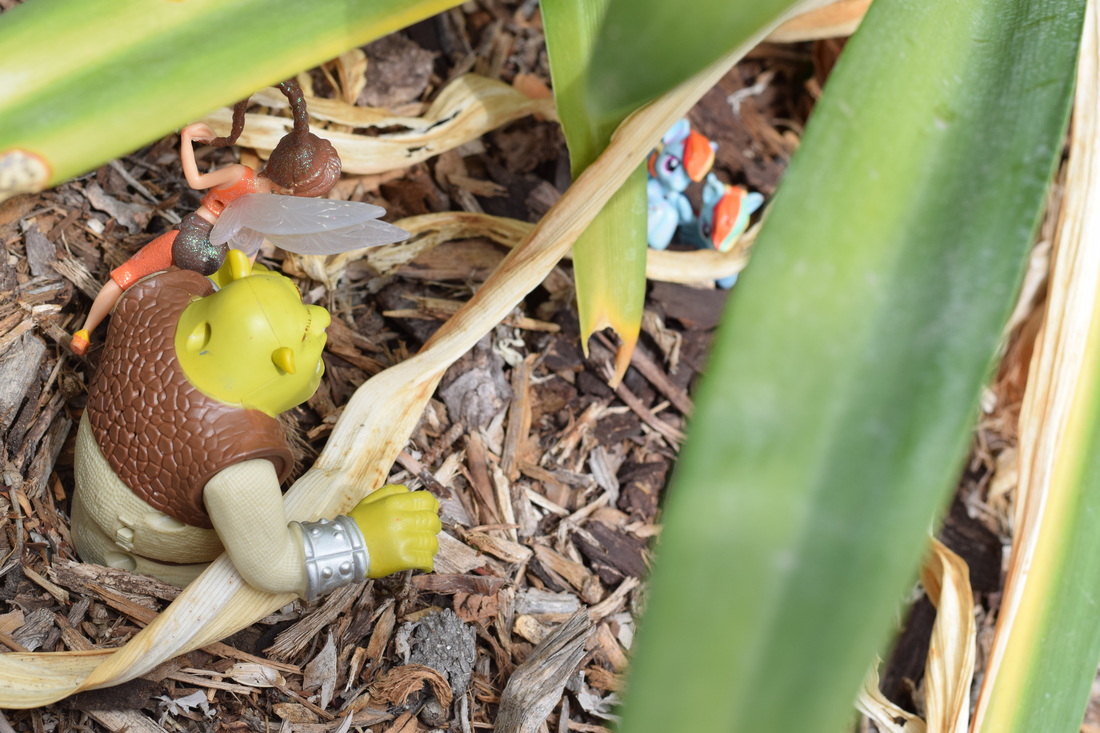 What the heck is that! ISO 400 Aperture f/8 Shutter Speed 1/640 While Fawn joined Shrek to gather berries in the woods, they heard noises in the woods. Shrek and Fawn were prepared to attack whatever it was that was behind the trees. As they kept walking, Fawn noticed it wasn't trying to harm them so she told Shrek to stop shouting toward the trees. Shrek asked her why he should stop and she said because she was hearing whimpers coming from that area. 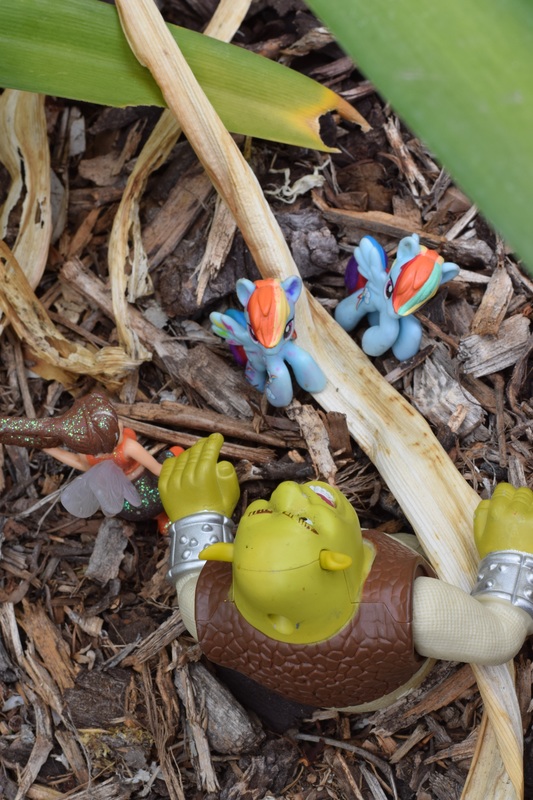 Lets all work together ISO 400 Aperture f/16 Shutter Speed 1/100 Two tiny twin ponies came prancing out from behind the bushes. Their names are Rainbow and Dash. They asked Fawn and Shrek for help because they wandered off from their mom while going on a walk. Shrek was hesitant to help the twins but the Fawns female instincts was to help them get back to their mom. Shrek was still not having it, he was super hungry and told them to look out for themselves. Fawn took charge and off they went looking for the mother. 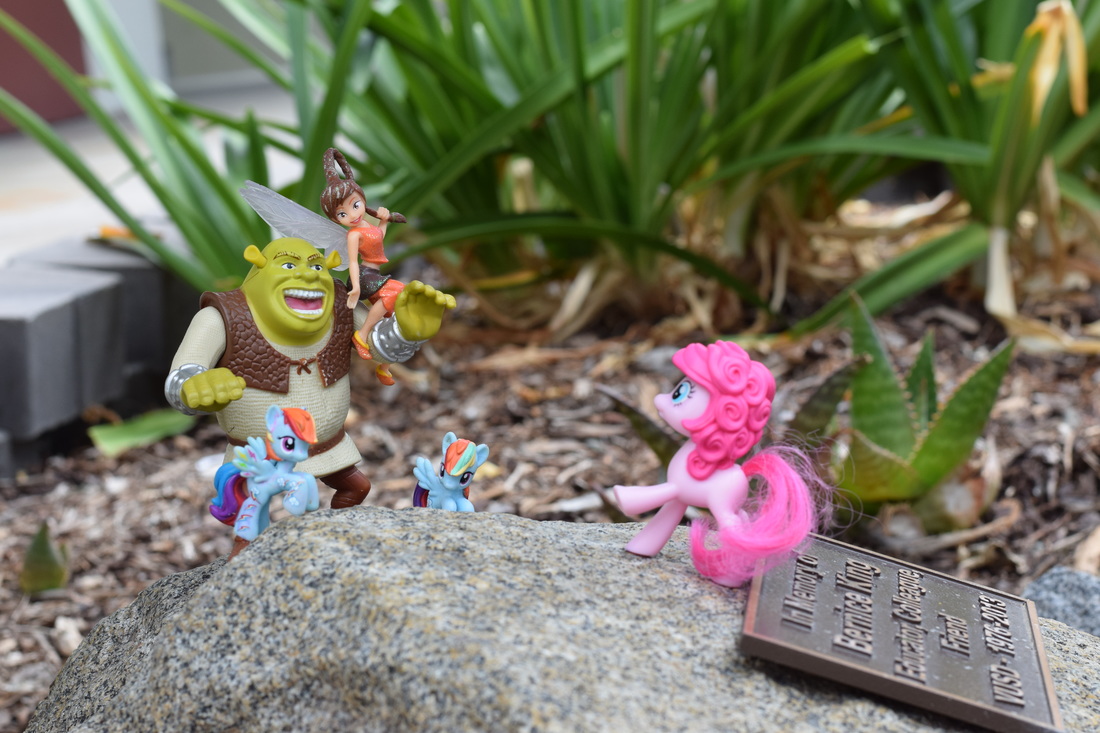 Happily Ever After ISO 400 Aperture f/8 Shutter Speed 1/320 Shrek and Fawn found the ponies' mother! The youngsters filled with joy and happiness ran toward their mother. The mother was overwhelmed and showed much gratitude toward Shrek. She was very thankful of them for bringing her babies back to her. Shrek asked if they had a place to live and the mother said everyday is a new home for them. Shrek then offered the family of three a home at his swamp. Overall, he had a change at heart and realized having company makes him feel even better about life.
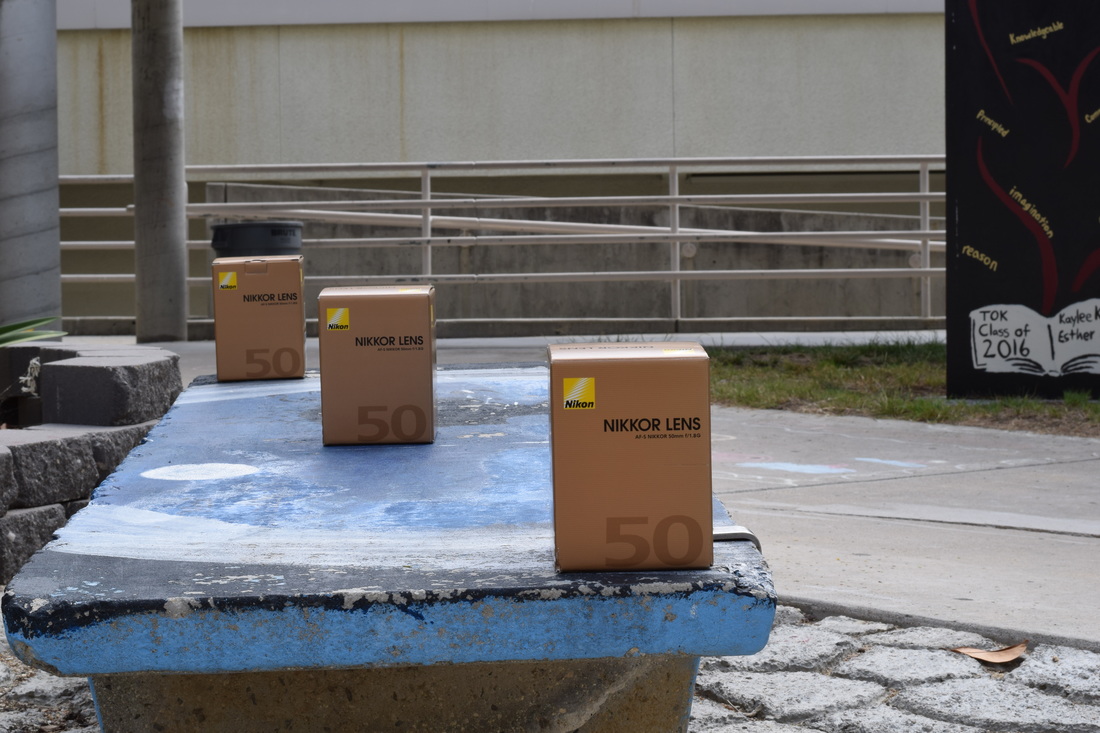 ISO 200 Aperture f/16 Shutter Speed 1/100 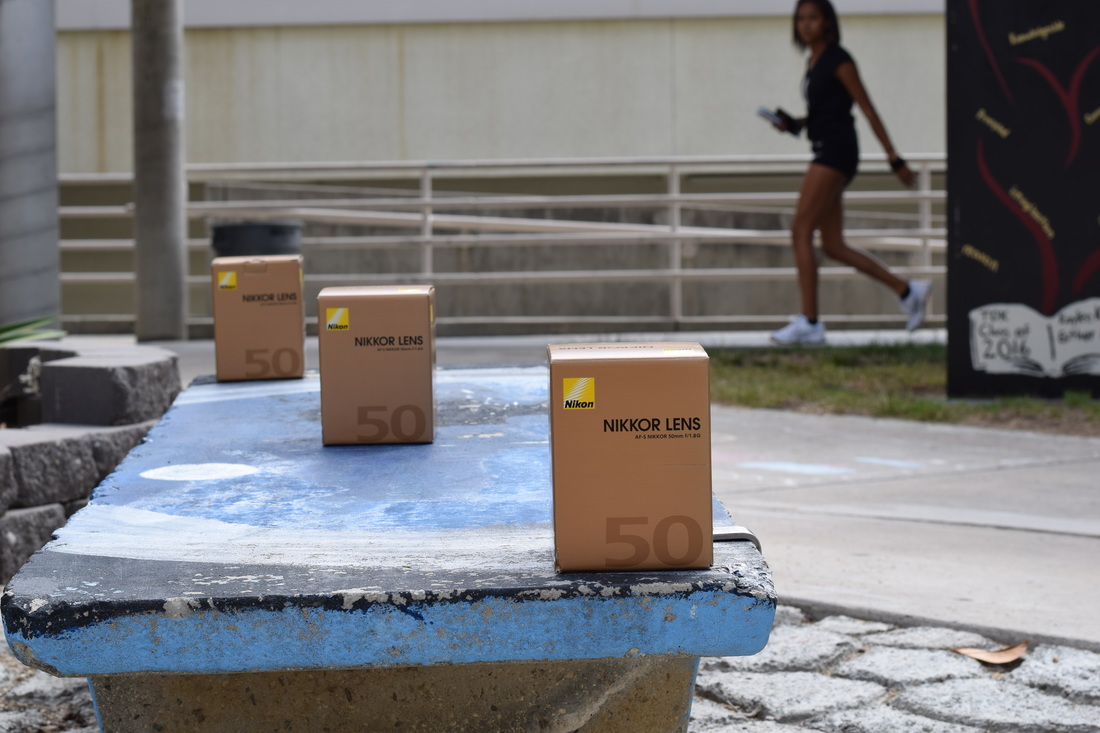 ISO 200 Aperture f/8 Shutter Speed 1/400 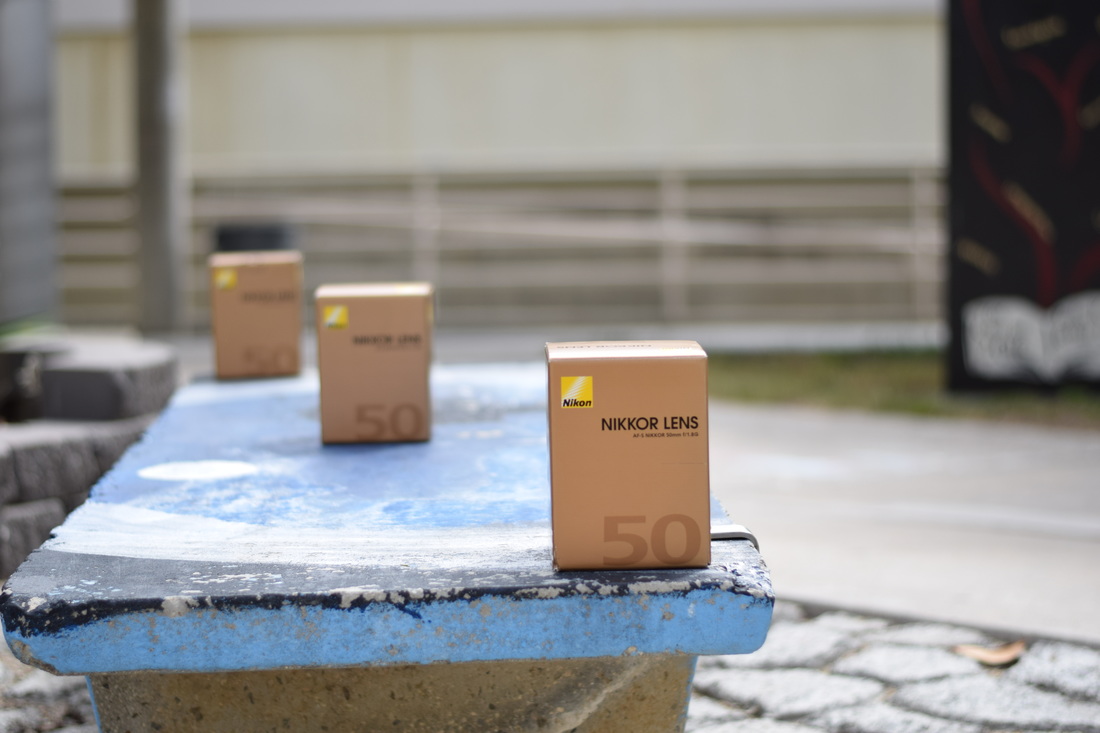 ISO 200 Aperture f/1.8 Shutter Speed 1/4,000 For each photo, there are specific apertures that the camera is set to. Each photo has a different focus
point. In the first photo that you see I used f/16, which has the largest aperture of all three photos. F/16 has a large depth of field. Everything is captured clearly with little blur in the photo. The photo is clear like I said but if you look at the first box, it is thee most clearest one of all three boxes. The other two boxes aren't that clear but you can still make out what it says on them. In the second photo I used an aperture set to f/8. When the depth of field is increased, so is the aperture. This aperture focuses mainly on the first box. When looking at everything else around and in back of the first box, you can tell that the person, other boxes, trees and the art mural o he side are not focused on but you can still configure what the thing is. Now when using f/1.8 you cant make out any of the items in the background. In the third and final photo, I used the aperture of f/1.8. This aperture is focusing on the first box the most clearest of them all. EVERYTHING in the background is blurred out .Opposed to f/16 where everything is in main focus and you're able to tell what is in the background. F/1.8 has the least depth of field. Every photo can have a certain main focus based on your liking and the main thing you have to remember is which aperture captures what you want. |
 RSS Feed
